The Gear - Part 1 - Pack & Sleep Kit
Monday, Jan 21, 2019 | 9 minute read | Updated at Monday, Jan 21, 2019
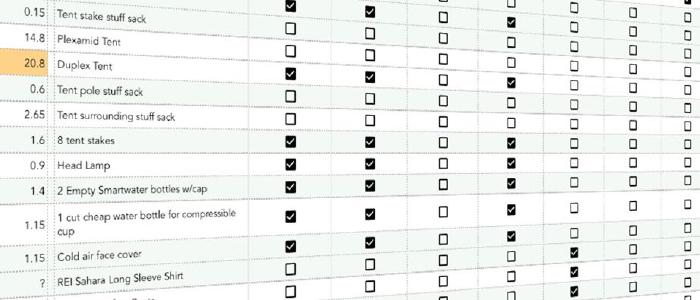
I spent a lot of time trying to refine my gear before the trail. I had a spreadsheet with 8 million items, and I added, removed, and refined things for months leading up to my start date.
My base weight was 13.5 pounds when I began, and during the course of the trail, I got it down to ~11 pounds.
For those who don’t know, base weight is everything you’re carrying that is not consumable. All your gear. It does not count worn weight, which is what you’re wearing on a normal day during ideal conditions. Worn weight includes shoes, your clothes, and sometimes people include their phone, and anything else carried within their pockets in their worn weight.
Purists say that’s cheating.
Purists also say HYOH (Hike Your Own Hike), but often it means they’re judging you for not being as awesome as they are.
They say you’re lightweight if you’re between 10 and 20 pounds, and ultralight if you’re under 10 pounds.
Now that I have the experience, I have already refined my gear quite a bit more than what I have listed here. I will share my refined list afterwards.
It is my goal to be a super ultralight hipster, so light that the sunlight is always shining on me, providing me with ideal key lighting for passers-by. I did not achieve that on the AZT, but I’m getting closer.
My color scheme for the AZT was black/grey with an orange accent.
Ultimately, keeping fashionable is the most important thing about gear.
If you don’t believe that, I don’t have words for you. You might want to reconsider your own moral choices.
For the record, most purists have no concept of fashion. They wear clothes that don’t fit, and certainly don’t accentuate their natural shape. So how much do they actually know, in the scheme of things?
Not much. Not in that outfit.
Pack
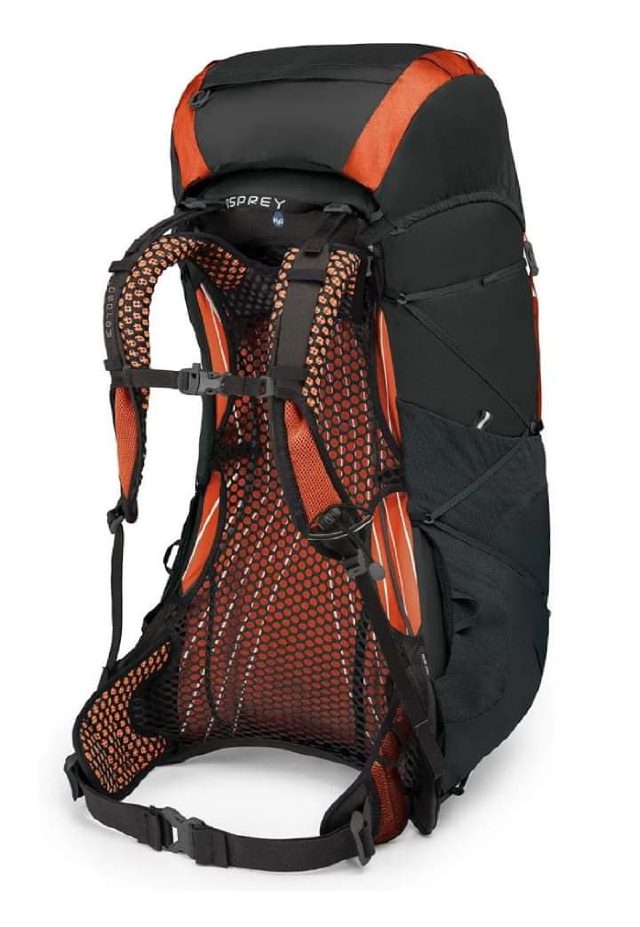
My first backpacking trip was in July, 2018. In June, I had never heard of REI, so Amazon was where I purchased my first item: the backpack.
The only resource I had was blog and review sites, and they said that the Osprey Exos 58 was the ideal pack for all the things. For a mainstream brand, the Exos 58 is relatively lightweight. It’s certainly a good pack, albeit too large for my purposes. I left the brain at home, leaving the pack weighing a still hefty 2.7 pounds. It’s quite sturdy, and the hip belt and side pockets are more than adequate. The straps had enough padding, and the compression straps on the side did their job well. Overall, it’s a solid pack. For $220, it’s probably the best all purpose pack I know about. Ultimately, though, it was far too big, and far too heavy
I considered switching up my pack, but the Exos was doing the job, so I decided to stick it out with my reliable Osprey. I will be switching to something else for future hikes.
Sleep Kit
Ground Insulation
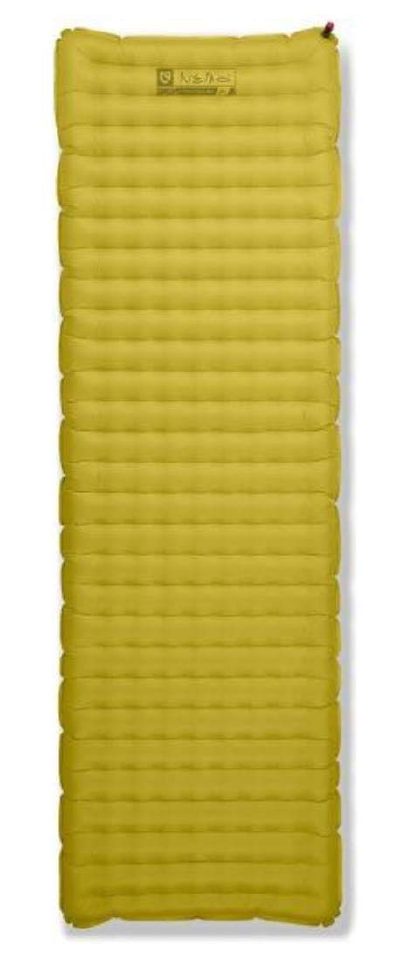
I began the trail with a Nemo Tensor Insulated 20" air pad. It compresses to the size of a Nalgene bottle, and when inflated, With the stuff sack and repair kit, it’s a full pound (16 ounces). It runs for $160, although it has since been discontinued for a newer version that has a better inflation/deflation system.
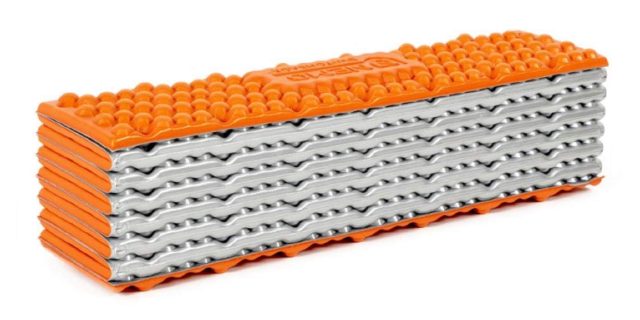
When I got back on the trail after flying back to Salt Lake for 2 weeks due to an ankle injury, I picked up a closed cell foam pad, because I wasn’t sure if the air pad would be enough insulation for the coming cold. The Grand Canyon South Rim retail stores had limited options, so I purchased what they had available: the Neo Therm-a-rest RidgeRest SOLite.
It rolls up into a cylinder, and I clamped it at the top of my bag. At 14 ounces, I picked it up for around $29, though Amazon has it for $20. I put it underneath the Tensor air pad for extra ground insulation, and sent it back after Flagstaff, when the danger of extreme cold had passed.
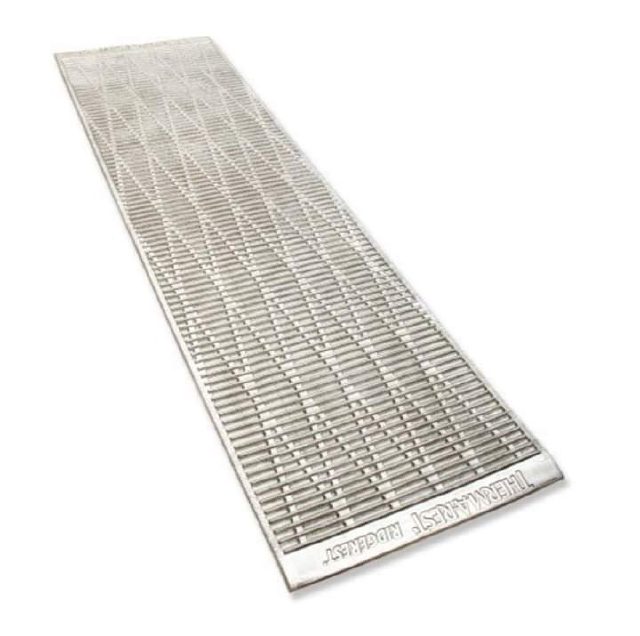
It’s ok, but I don’t like that it required rolling up; it was a little too unwieldy, though it performed just fine. I am, however, glad I used it, because now I know how useful closed cell foam pads truly are.
In the Mazatzal mountains, my air pad punctured, so I needed another solution for ground insulation. The air pad comes with a repair kit, but for a micro-puncture, you need to submerge the pad in water.
If I had that much water in the desert, I certainly wouldn’t want to submerge my sleeping insulation in it during the winter.
I will not be depending on an air pad for my only ground insulation ever again, unless the night temperatures are in the upper 60s all the time. Had I not been close to a road, I would have been in for a difficult night when my body heat drained into the ground at below freezing temperatures. For a 3 day backpacking trip, fine - you can just walk back to your car. For a thru-hike, however, it’s not acceptable. I shipped it back home after the puncture, and after finishing the trail, returned it to REI with prejudice.
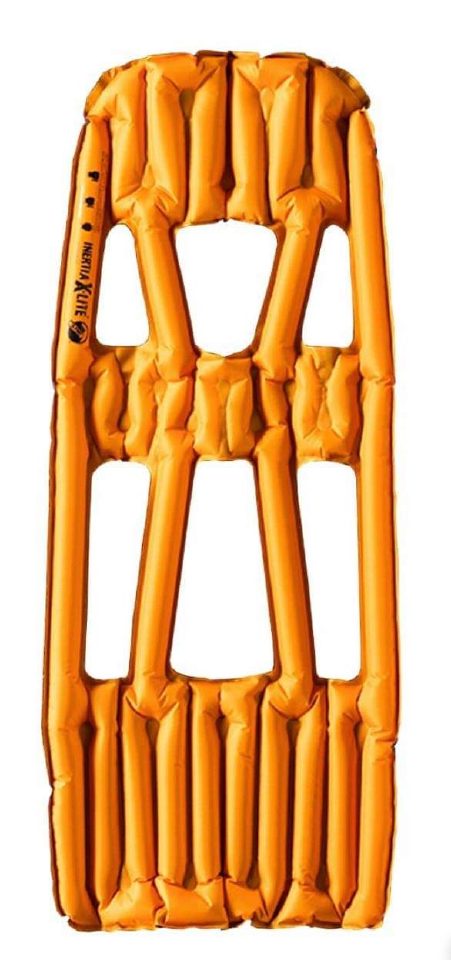
After the puncture, I opted for a different solution. I wanted the cushion of an air pad, but the reliability of a closed cell foam pad. I chose the Nemo Switchback.
At 14.5 ounces, 30% thicker, but compressed smaller and weighed only 0.5 ounces more than its direct competition. In addition, I added the Klymit Inertia X Lite. This air pad only pads pressure points, and weighs only 5.6 ounces. It blows up in 3 breaths, and compresses very well. These two items together were perfect, and I was happy every night.
I also carried two inflatable pillows, one being the Sea to Summit Aeros Pillow. I used it between my legs to provide support when sleeping on my back and side; I rarely slept on my stomach while on the trail. I used to sleep only on my stomach in regular life, but leading up to the thru-hike, I began to train myself to sleep on my back due to the benefits for your spine, and because it’s less likely to cause skin problems on your face when you’re likely already dirty.
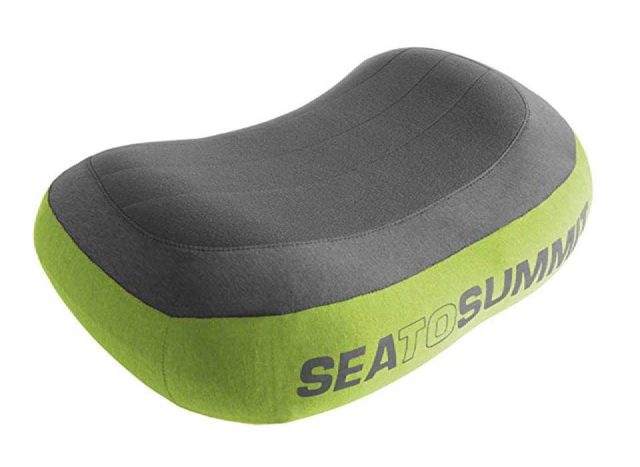
In Flagstaff, I got a second pillow so that I could use my first pillow for hip support - I picked up the Sea to Summit Aeros Pillow Premium, which had more of a cloth feel, and was ideal for comfort on my face when turned to the side, even while sleeping on my back.
The pillows were fine, but I have other options planned for the future in order to save those 5 ounces.
Sleeping Quilt
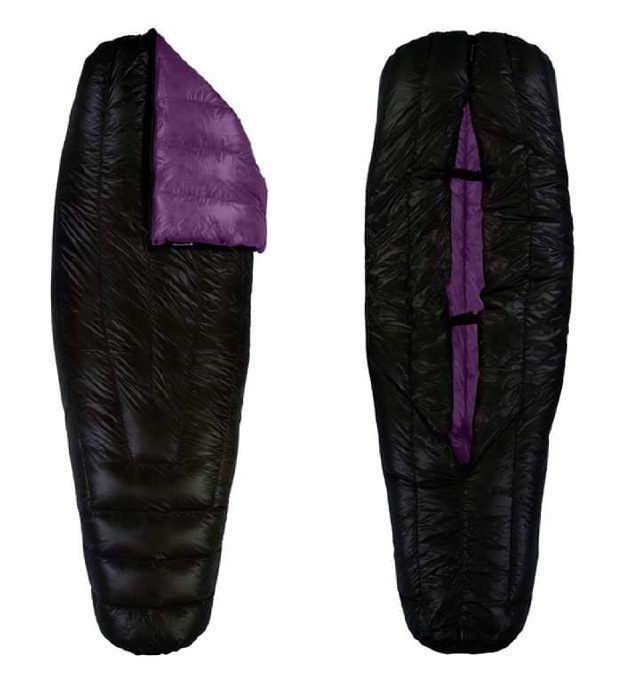
In case you don’t know, the modern hipness is a sleeping quilt instead of a sleeping bag. A quilt does away with insulation underneath you, since that’s the job of your ground insulation. Because down, or even synthetic materials, do not insulate when compressed, whatever you’re lying on does not provide warmth - you’re carrying the extra weight for no reason. For the AZT, I had a 10º Enlightened Equipment Enigma quilt with an enclosed foot box. The Revelation model zips up at the bottom, which allows for use a regular blanket. I opted for the enclosed Enigma so that I wouldn’t have to worry about cold feet. That was the idea, at least.
No quilt or bag promises comfort at the advertised rating, so it’s important not to expect too much. For most of the trail, I wore a wool base layer and a mid-weight down jacket to bed - sometimes including my rain jacket for extra warmth. On the coldest nights, it wasn’t warm, but I did survive, and I didn’t get sick. I did develop a slight case of hypothermia, so were I to approach 10º again, I would make different choices.
Unfortunately, when I purchased the quilt, I was thinking I would want to put my head in the quilt and have enough room to move around. What I didn’t understand was that the more space you have in the quilt, the harder it is for your body to heat up that space. It doesn’t seem like that much, but it makes a huge difference, particularly for your feet. If my feet were not already warm when they entered the bag, it took 2-3 hours for them to get that way. In addition, keeping your head in the quilt makes condensation form that much more quickly, which can be dangerous due to the moisture it adds to the quilt, and the down, over the course of several days.
Ultimately, I was not too happy with the quilt, though I suspect it’s due to my own ignorance in the beginning. I will be using a different quilt in the future.
Base layer for sleeps
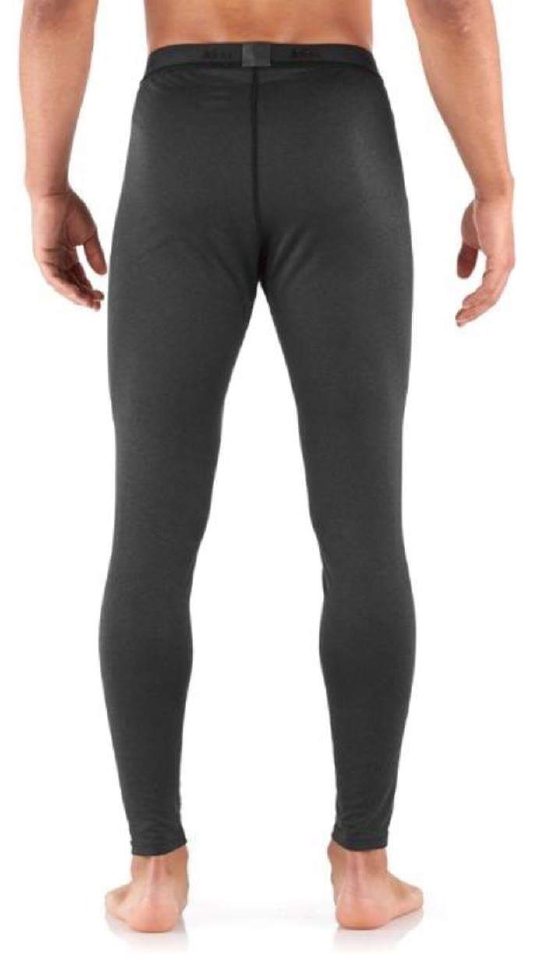
For a night base layer, I had lightweight merino wool REI long underwear. Given that the most important part to keep warm is my core, I figured lightweight bottoms were just fine. On the coldest days, I wore them while hiking.
Merino wool has a natural anti-bacterial effect, and I can tell you for sure that it absolutely does, which makes the unexpectedly high cost absolutely worth it on the trail. Even after 10 days of sleeping in it, the base layer was perfectly fine.
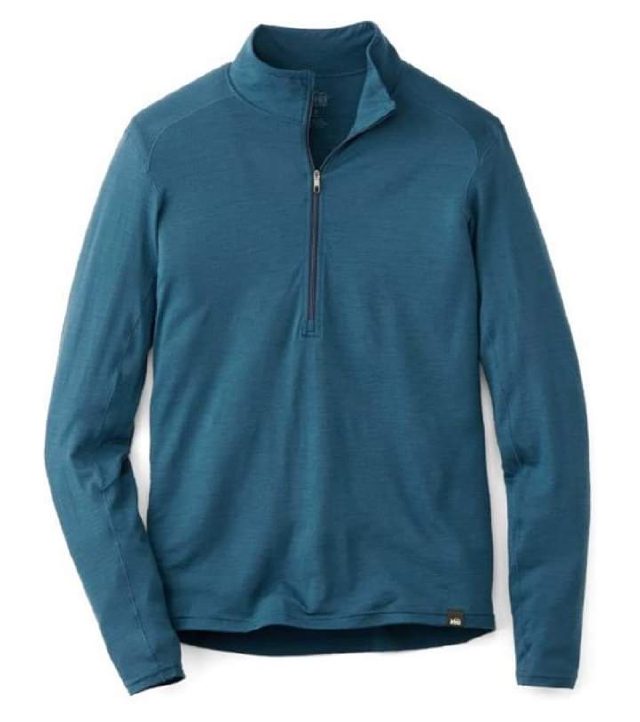
My top layer was a bit thicker, a mid-weight merino wool half zip top. The zip allows you to adjust for varied temperatures, and the collar just looks good.
I was happy with both of these choices. My only concern is how heavy they were. In the future, I will be looking for more lightweight options.
I carried a second pair of socks for sleeping in. They say it’s good to sleep in clean socks, and I believed it for no particular reason. my night socks were REI merino wool technical hiking crew socks, weighing 1.65 ounces. They cost $16. I went with the technical, because they’re lighter than the lightweight version. I only wanted something to cover my feet; the majority of the warmth should come from my quilt.
They fell apart after 3 weeks.
Next up, Cook Kit and Electronics…